In Divide By Zero, one of the most important War Rules is the attack order. Review the War Rules
here.
Question: during the attack phase, why should top players wait till lower players try their attacks first?
Let's consider this scenario: Clan Awesome (A) is battling Clan BadGuys (B), and each clan has 10 players (A1 to 10, and B1 to 10), in the order of their strength from strongest to weakest.
Let's say that the probability of winning stars depends on the level of attacker in Clan Awesome and the defender in Clan BadGuys, and it's as such:
| Chance of 3-star | Chance of 2-star | Chance of 1-star | Chance of 0-star |
| if A attacks higher level B | 5% | 5% | 10% | 80% |
| if A1 attacks B1-3 | 20% | 20% | 30% | 30% |
| if A1 attacks B4-6 | 30% | 30% | 30% | 10% |
| if A1 attacks B7-10 | 60% | 30% | 10% | 0% |
Now, let's consider two strategies:
Strategy A is: A7-10 players attack B players that they think they can 2 or 3-star, then A4-6 players attack the remaining B players that they think they can 2-3 star, then finally A1-3 players mop up the remaining B players that haven't been 2-3 starred.
Strategy B is: A1-3 players attack B players that they are sure they can 3 star, and the rest of the team picks off the remaining B players.
Strategy A
In Strategy A, the first wave of the attack would be A7-10 attacking B7-10, resulting in the following:
| Defender | Stars |
| B10 | 2 |
| B9 | 2 |
| B8 | 1 |
| B7 | 0 |
The second wave is A4-6 attacking. A4 see that B7 has 0 star, so he hits it hard and get 2-stars (60% probability). A4 also pulls a lucky hit and 3-stars B8 (30% probability). The new result becomes:
| Defender | Stars |
| B10 | 2 |
| B9 | 2 |
| B8 | 3 |
| B7 | 2 |
| B6 | 2 |
| B5 | 1 |
| B4 | 1 |
The final wave is the top guns A1-3 attacking. They mop up the 1-stars from B4 and B5, and they challenge the B1-3 where they can. The new result is:
| Defender | Stars |
| B10 | 3 |
| B9 | 2 |
| B8 | 3 |
| B7 | 2 |
| B6 | 2 |
| B5 | 3 |
| B4 | 3 |
| B3 | 2 |
| B2 | 1 |
| B1 | 0 |
Strategy A secures 21 stars.
Strategy B
In Strategy B, A1-3 attacks the bottom players to get maximum stars.
| Defender | Stars |
| B10 | 3 |
| B9 | 3 |
| B8 | 3 |
| B7 | 2 |
| B6 | 1 |
Now A4-6 try their hands on the map, and can only challenge B7-6 reliably. They had luck on B4-5.
| Defender | Stars |
| B10 | 3 |
| B9 | 3 |
| B8 | 3 |
| B7 | 2 |
| B6 | 2 |
| B5 | 2 |
| B4 | 1 |
Now finally A7-10 looks at the map and cannot do much further.
| Defender | Stars |
| B10 | 3 |
| B9 | 3 |
| B8 | 3 |
| B7 | 2 |
| B6 | 2 |
| B5 | 2 |
| B4 | 1 |
| B3 | 0 |
| B2 | 0 |
| B1 | 0 |
Strategy B gets 16 stars.
 |
| First test case of our war strategy in a real Clan War. |
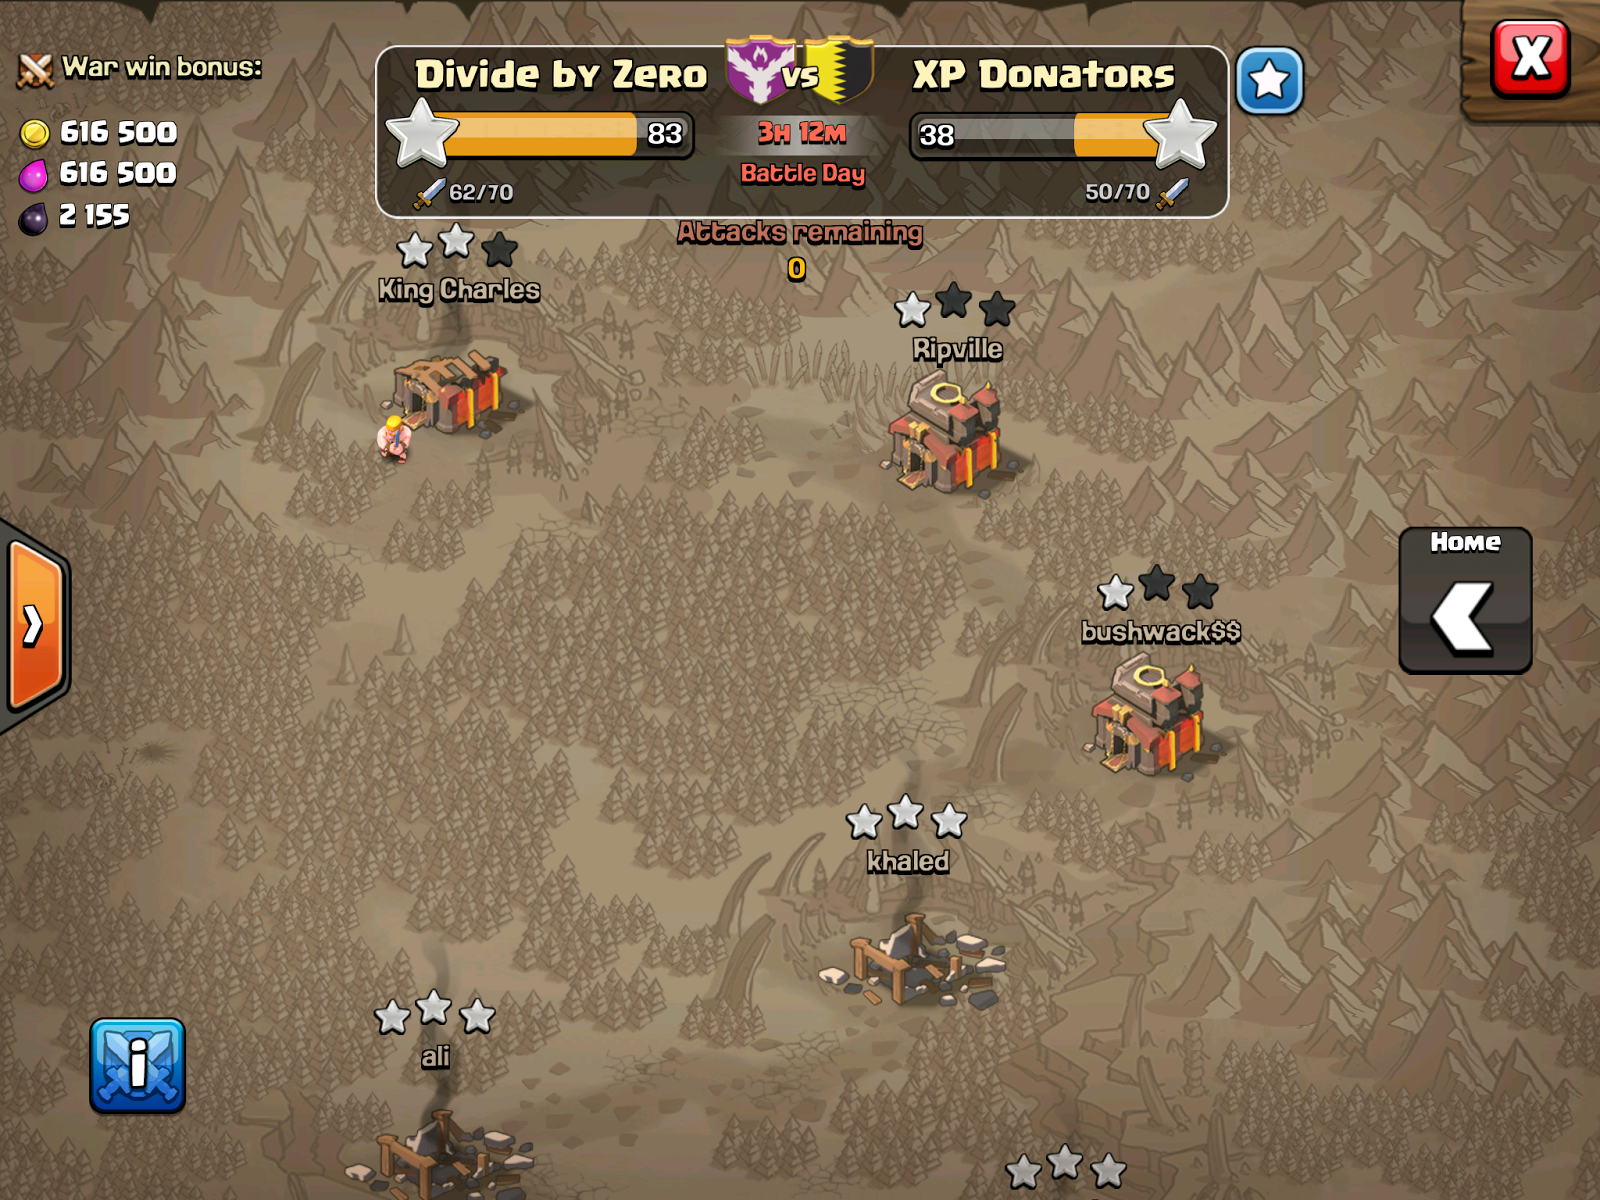
Strategy A was executed beautifully in our War against the XPDonators, the first Clan War after we implemented our
War Rules. Early on, the enemy randomly attacked us without much of a plan. They used up most of their top players' attacks with average result.
In the beginning, our first wave of attack was done by our mid to lower range players who got many 1-2 stars from their lower range players. Our top players waited and encouraged them. As expected we had a slow start compared to the enemy, but we used only half of the attacks to score similar # of stars.
 |
| 2 of 7 successful defends by King of Donuts |
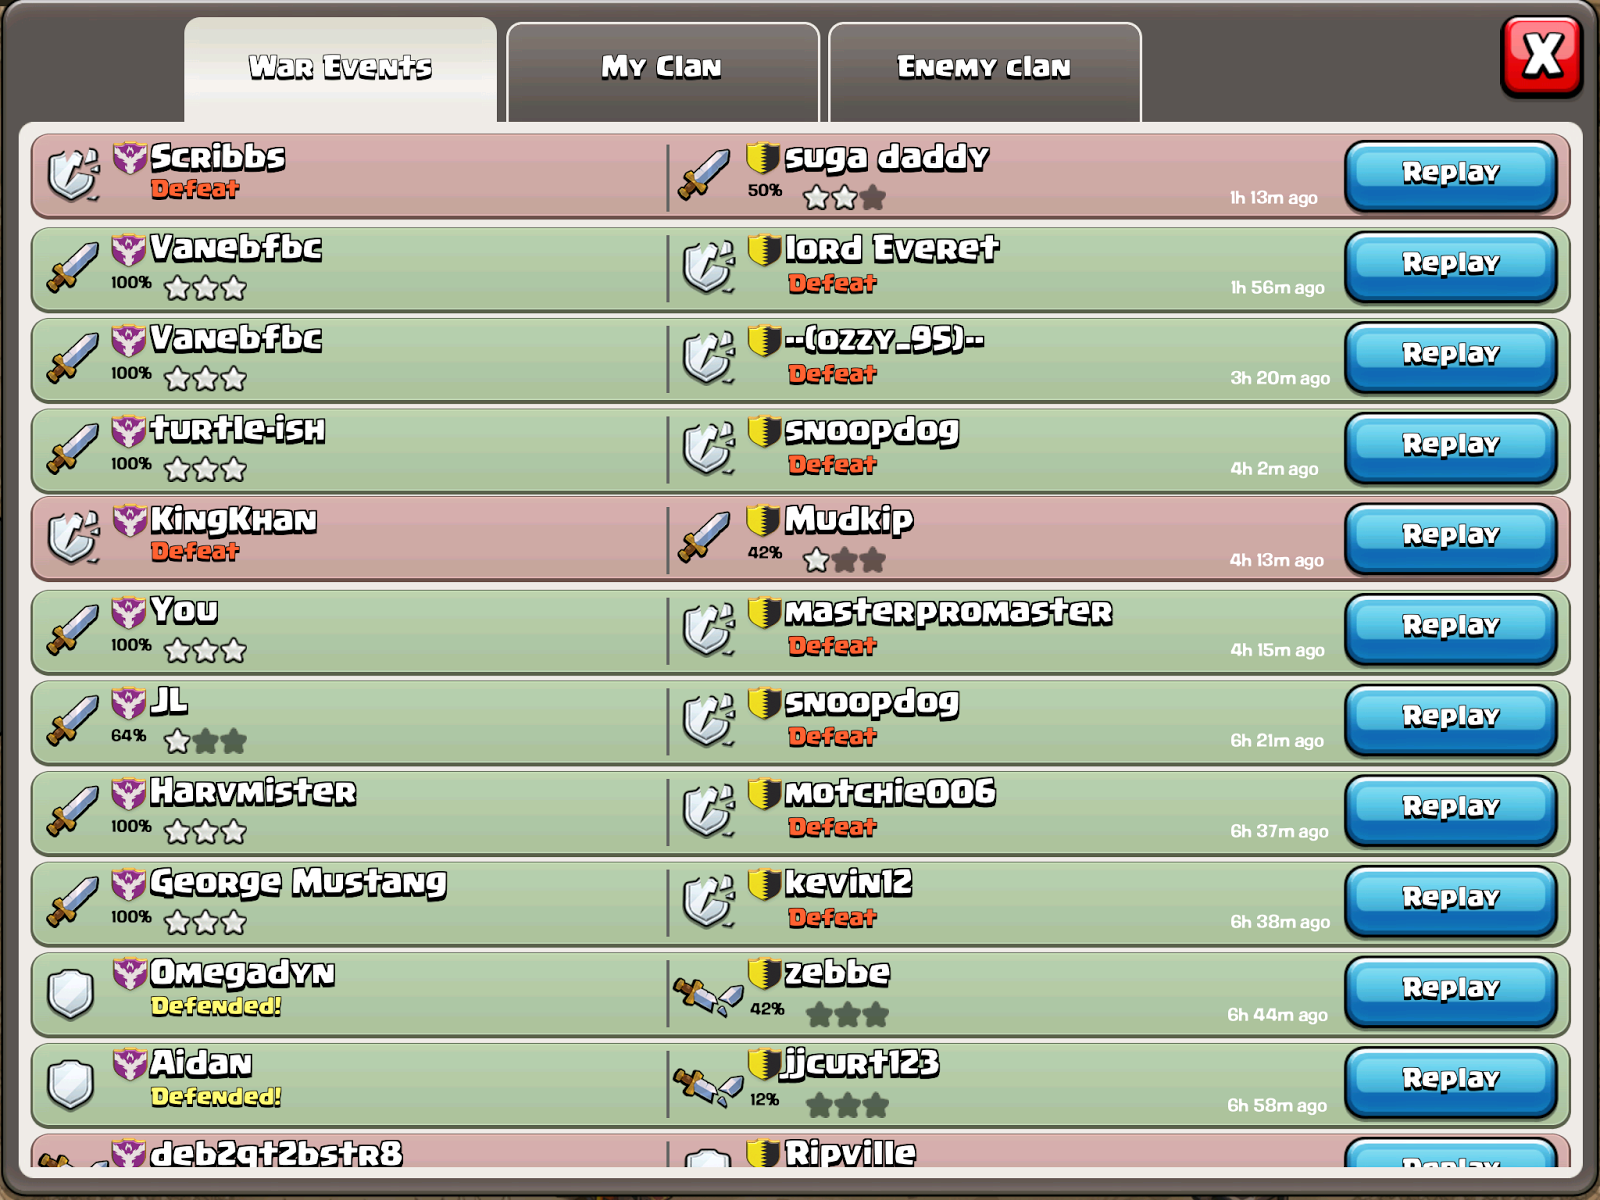
Towards the end, the enemy mid-range players kept failing to gain any stars from us. For example, 7 enemy players attempted to attack King of Donut but failed to gain a single star. Once we moved into the late game, our top guns were unleashed and started butchering the enemy. Because they waited till the late game, they could identify the mid to lower range players who have only been 1-starred, and 3-starred them with ease. We had power to spare, so we challenged the top enemies as well.
 |
| The last few attacks by our top players was mostly 3-stars. |
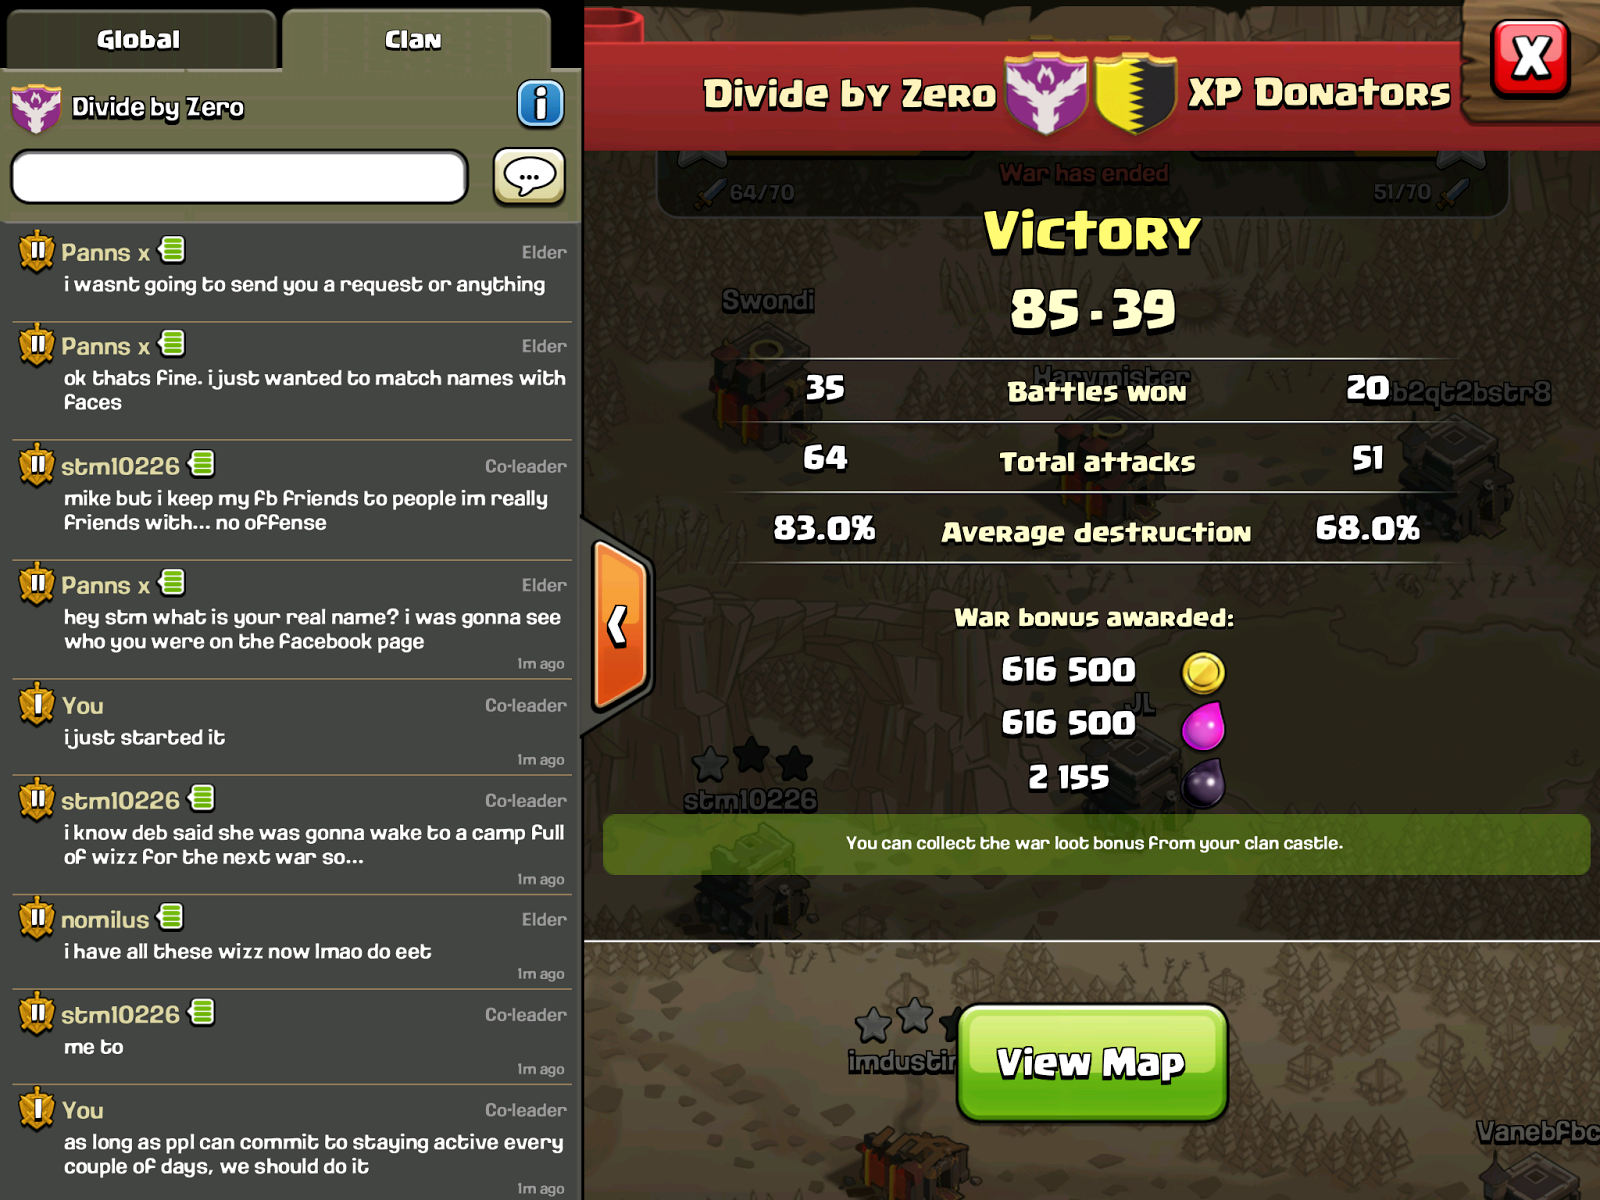
The result of our disciplined, coordinated attack was a landslide victory. Of course, overall our clan was stronger than theirs, so we may have won with a free-for-all strategy. But I doubt that the victory would have been as spectacular as it was.
 |
| Final score was 85-39 stars. |


